Dave Reyburn
"Neoteric makes putting the hovercraft together
so easy … What an awesome machine!"
I picked up our Hovertrek kit on Feb. 28, and
spent the next 6 weeks putting it together. I took
my time, working on average an hour or two per day
(usually less). I thoroughly enjoyed the process
of assembling the hovercraft and learned a few things
along the way, too. It was also a good opportunity
to teach my eldest son Travis about hand tools and
fasteners and also some basic aerodynamics. The
boys all wanted to pop some rivets but didn't quite
have the hand strength to finish them. My wife sometimes
felt that she was a hovercraft widow as I spent
a lot of evenings working out in the shop, but we
anticipated that and I'm sure she'll make up for
that when she learns to drive it and discovers how
much fun it is.
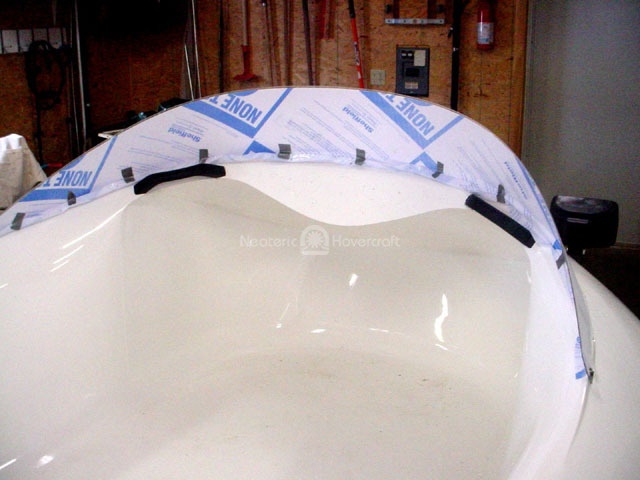
The skirt retention strip was the first thing
to be completed. I had never used a pop rivet gun
before although I had done some buck riveting when
I was in college during a sheet metal class but
that was a long time ago. The retention strip went
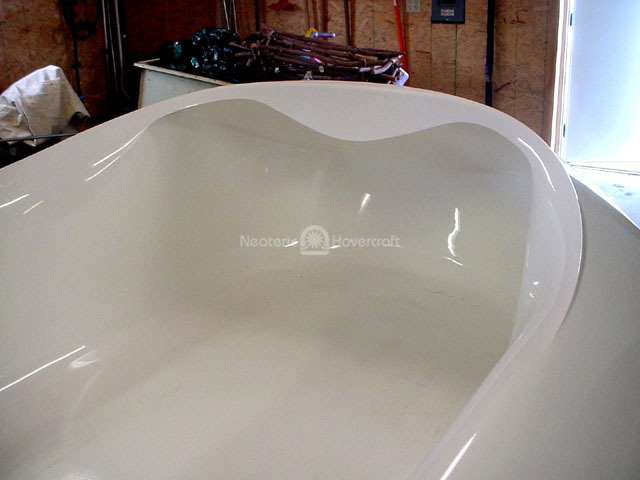
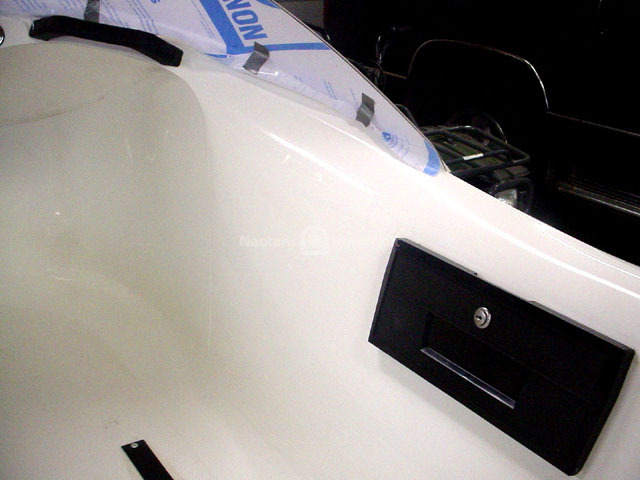
on with no problem. At this point the hovercraft
body reminded me of a big white fiberglass whirlpool
tub since no parts were attached except for the
engine module. My shop work area was pretty full
of boxes and bags of parts waiting to find their
proper location on the craft. I decided to proceed
by first assembling the things that looked pretty
easy to do such as the headlights and navigation
lights. I didn't hook up any wiring as this looked
like the most challenging part and I left the electrical
wiring to be finished last. One important thing
I learned quickly was not to trust the markings
for hole locations on the body as gospel, and to
measure carefully, think about it, fit the part,
and then measure again before drilling any holes
in the body.
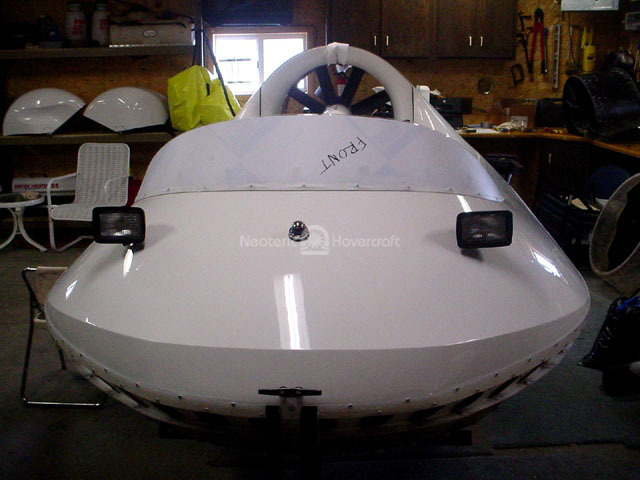
Next I attached the forward grab handles and the
windshield to the hovercraft. The windshield went
on very nicely. I had searched for clecos at various
places and never could find any but I found that
I didn't need them anyway because placing a rivet
in the hole works just as well to hold things in
place temporarily. Neoteric makes putting the hovercraft
together so easy by pre-drilling certain parts and
marking the body with drill locations (to be used
as guides). Also the instruction manual and videotapes
gave me all the reference information I needed to
figure things out, and when I couldn't figure something
out or had a question, I'd take a photo and email
it to Chris and usually get a reply the next day
with a solution.
The rear stainless grab handles went on next.
I made the mistake of drilling both holes first,
instead of drilling the first hole, then holding
the handle up and marking the location for the second
hole, but as luck would have it the handle covered
over my mistake and the handles went on perfectly.
Next I turned my attention to the front seat rails.
I must not have been concentrating too well that
day because I made the same mistake twice in a row.
I had the left rail riveted in place with marine
sealant under it, when I realized it was 3 inches
too far forward. I think I was looking at the picture
in the manual upside down, so ... drilled out my
rivets, cleaned up the sealant mess and drilled
my holes again repeated the entire process, then
realized the rail was 1 inch too far to the right.
D’OH! So... drilled out the rivets... you
get the picture. Third time was a charm and that
was pretty much the last major mistake I made on
the hovercraft project. Fortunately all holes except
for one were covered up by the rail, and the one
that was exposed was fixed with some epoxy and white
touch up paint. Did I mention that was my last mistake?
Actually I had one more. I had to drill and tap
the holes in the front seat frame for the roller
wheels. I thought I'd done a pretty nice job having
never tapped a hole before, but when I put the seat
frame in the hovercraft, the center rollers were
3/8 inch too high. (I'd drilled the holes too low
in the frame.) To remedy that, I used a 3/8 spacer
under the seat frame instead of trying to re drill
the holes in the frame (which I thought would be
a bit risky). Anyway it's all good now.
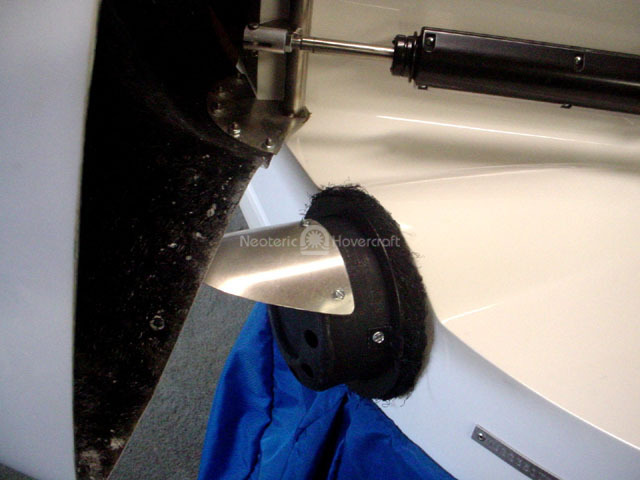
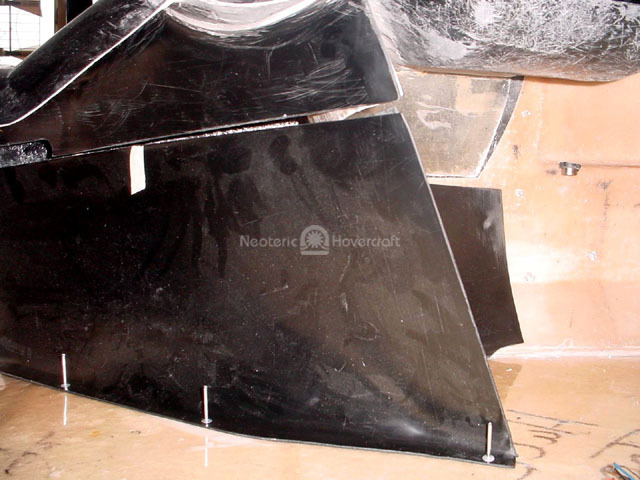
Next to go on were the reverse thrust buckets.
The only challenge was to determine exactly where
to drill for the foot since the main thing is to
make sure they align properly when the buckets are
fully reversed and that the starboard bucket doesn't
drag on the body. I felt lucky because it came out
really well, but like most things I took my time
and didn't rush anything. The bucket actuators went
on next, making careful note that the wire hole
is up one side and down on the other.
I attached the front seat cushions temporarily to
get a feel for how they would look, but took them
off shortly so I could work on the controls and
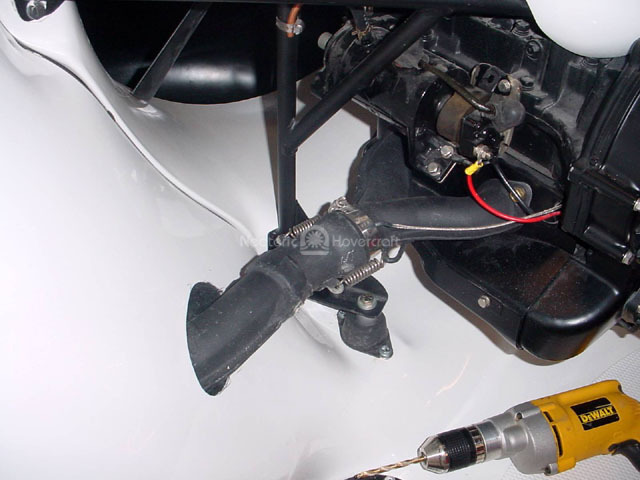
potentiometer brackets under the front seat. I felt
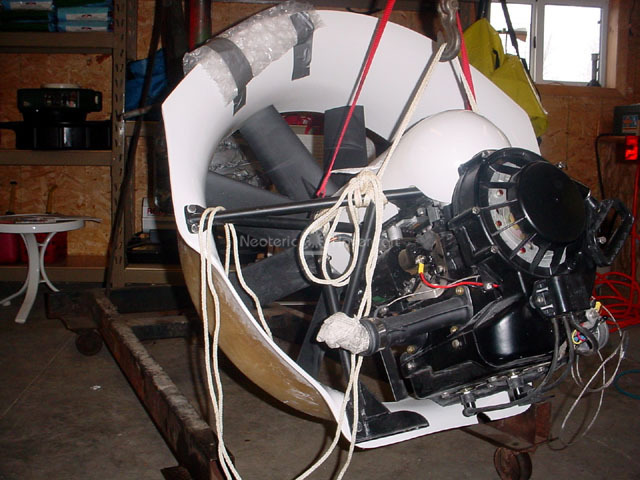
like I had gone as far as I could without pulling
the engine module out, and I'd been putting that
part off as long as possible, so I borrowed an engine
hoist from my father in law and without much difficulty
disconnected the engine mount bolts and pulled the
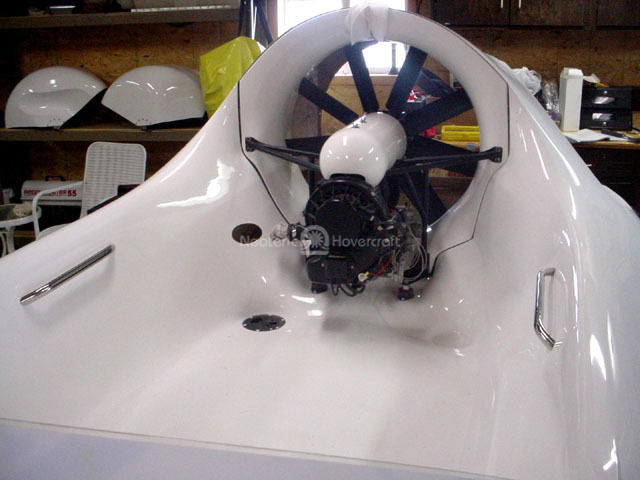
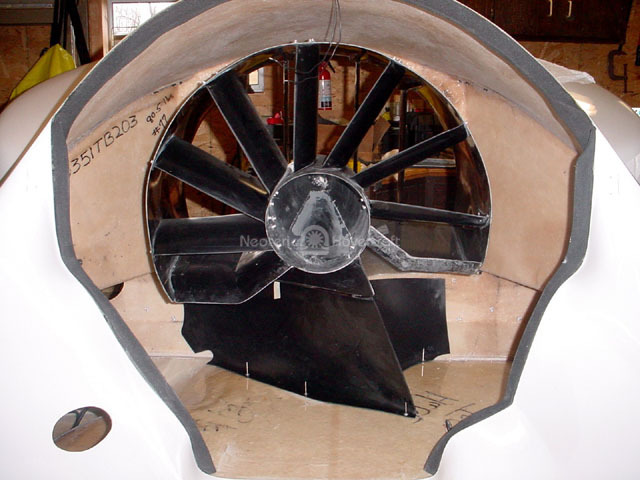
engine/bell assembly from the hovercraft. While
the engine was removed I was able to install the
air splitter/divider which was bonded with goop
and riveted to the hull floor. At that time I also
glued in some rubber strips that go around the engine
opening. After the goop dried the next day, I sanded
the leading edge and prepared to install the thrust
duct and reinstall the engine module into the hovercraft.
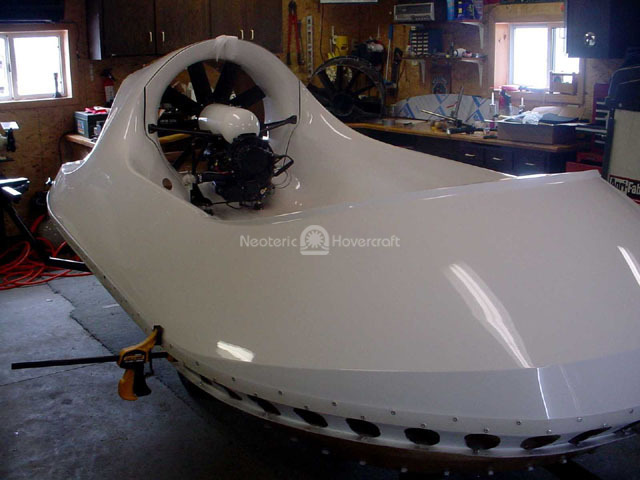
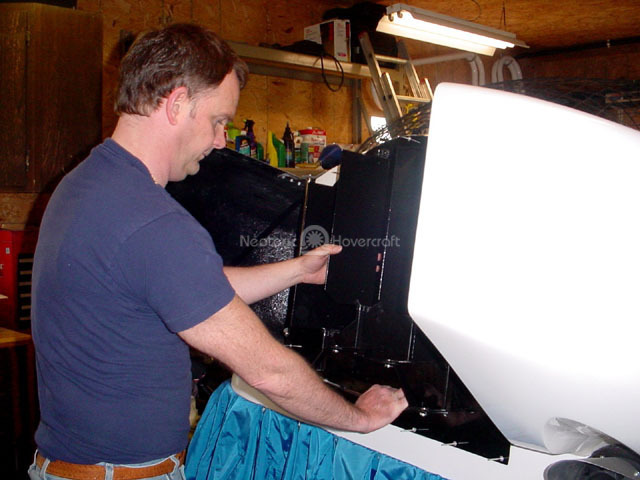
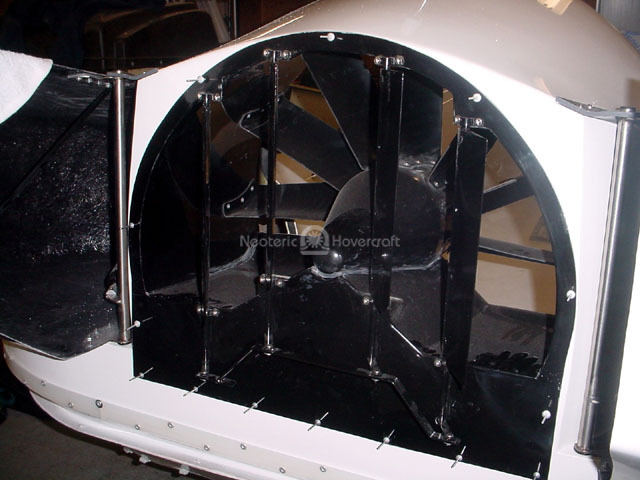
Putting the engine back in the hovercraft was for
me, the most challenging part of the whole thing.
I had a lot of difficulty getting things lined up,
probably due to the engine hoist legs getting in
the way of the trailer axle (excuses, excuses).
Anyway after a lot of sweat and tears, it all went
in nicely. The thrust duct mated up with the back
of the engine bell housing and I was glad to be
done with that part. If I have to take the engine
out again I'm going to make sure I have access to
an overhead type lift.
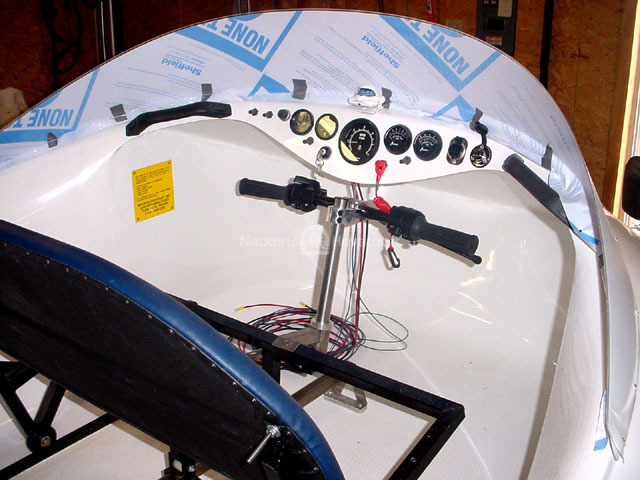
Next was the instrument panel. I was really worried
about screwing this up as I wasn't sure how well
a 3 inch hole saw would react to my fiberglass instrument
panel. One mistake and it's pretty well blown, but
as it turned out my fears were for nothing. All
the holes were drilled out without any event and
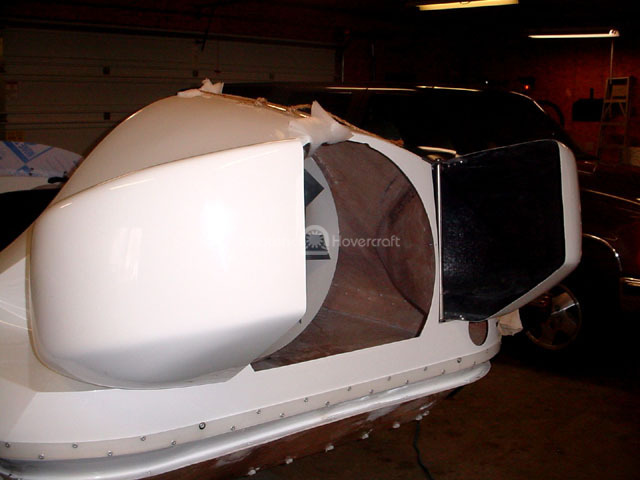
the instruments fitted in like a glove. Next were
the glove boxes. I had to cut a large hole in the
side of the hovercraft body (14 inches wide by 4
inches high). Again I measured very carefully making
sure that my lines were level. I used my rotozip
tool to cut the rough hole. Then, I filed the finished
edges all the while testing the glove box for a
fit. It went in like a glove (sorry for the pun).
A little marine sealant around the edges and six
rivets later I had an awesome looking glove box.
After repeating the process on the starboard side,
it was really starting to look like a hovercraft!
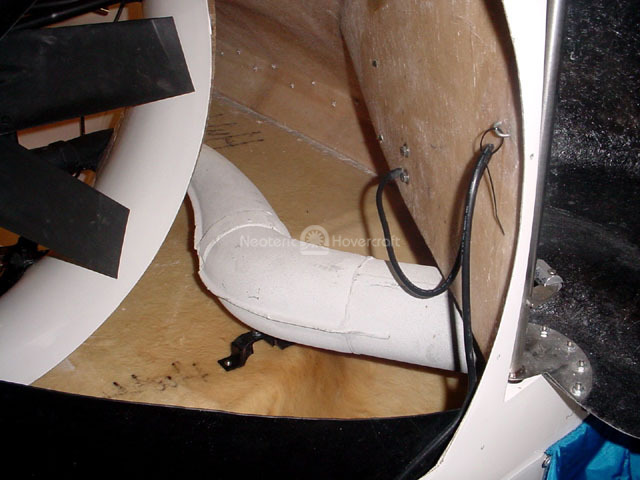
Next came the exhaust system. That was a bit of
a challenge but not too bad. I accidentally buried
one of the well nuts into the hull floor, but with
a little luck I was able to fish it out with some
needle nose pliers while my wife looked on holding
the flash light! Finally the exhaust system went
in nicely after that. I figured it was a good time
to attach the two skirts that go under the exhaust
because it didn't look like I'd have much clearance
left to get them in once the exhaust was in place.
(It’s good to think things through).
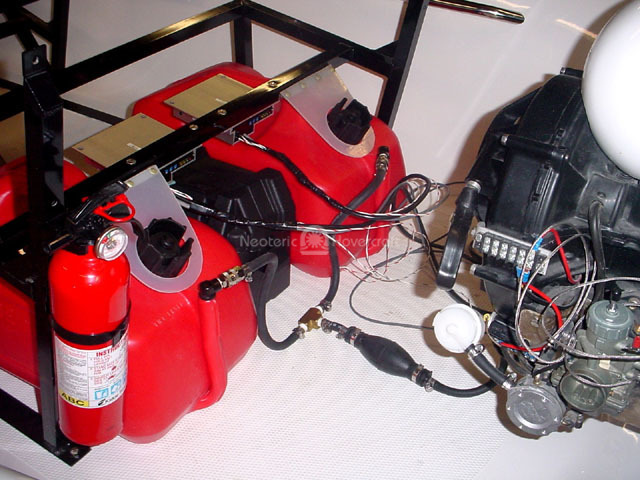
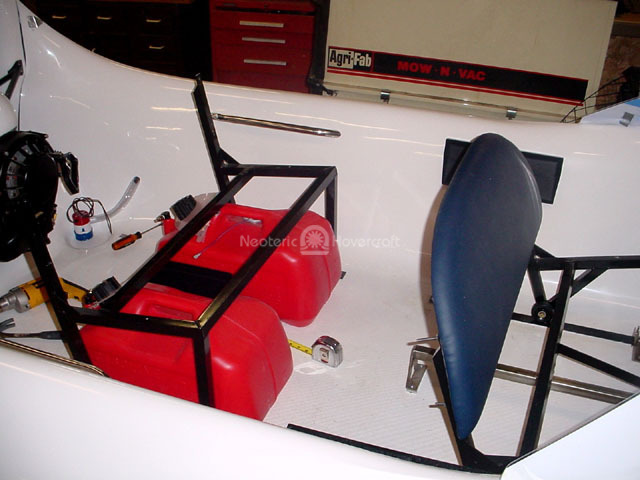
Next on the list was the battery box, fuel tanks
and rear seat frame. I enjoyed doing the mechanical
type work (drilling, riveting, measuring, bolting
etc.) I was really dreading hooking up the electrical
system knowing how many wires there were, so for
the time being I contented myself with doing all
the mechanical jobs while I could. The rear seat
frame went in without a hitch. There was the hidden
marine horn which goes inside the port duct and
the Neoteric placard which covers up the rivets.
Many a time I had to have an arm stuck all the way
into an air hole in order to reach something, which
leaves you with that itchy feeling at the end of
the day, (which after a while I stopped noticing).
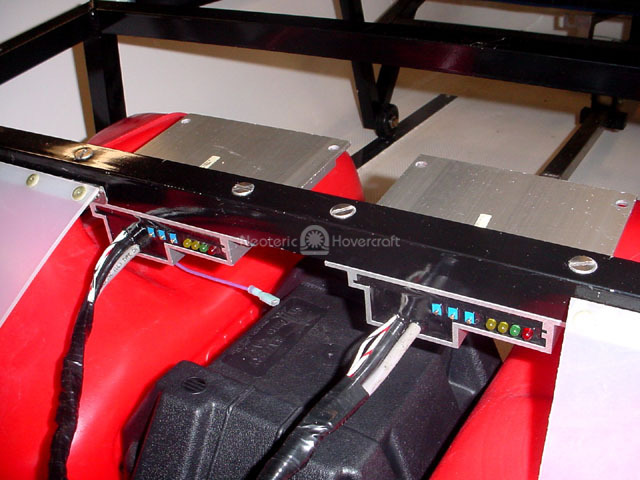
The front seat controls were put together and then
the fire extinguisher, the bilge pump, the actuator
computers (which I figured out you have to countersink
the holes for the bolts or the seat won't fit properly).
The fuel system is a snap to hook up since it comes
with neat quick disconnects. One hose clamp and
it was done. (Lets face it Neoteric does a lot of
the work for you - thankfully).
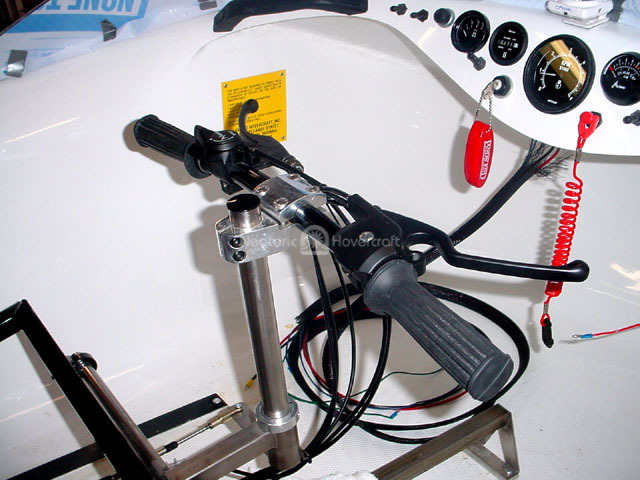
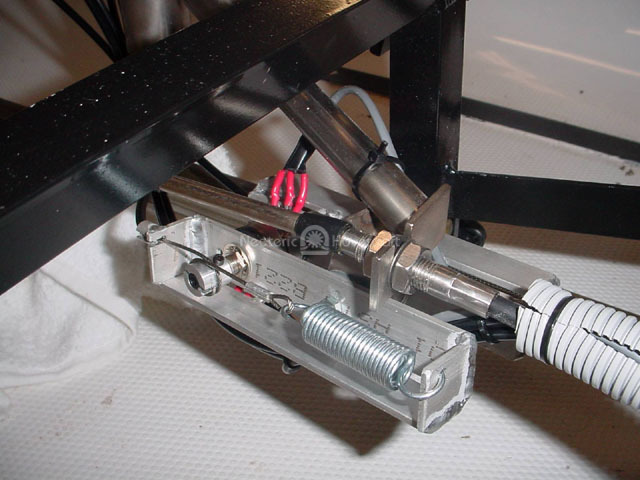
Next was the soldering of potentiometer wires
and assembling the brackets in place with the cables
from the brake levers. I studied the videotape really
hard on that one and as is usually the case it's
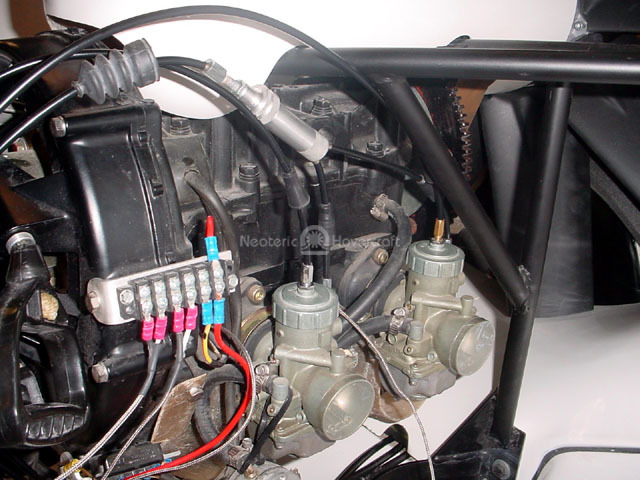
a lot easier than you first think. I hooked up the
rudder cable and throttle and choke cables to the
handlebars and after plenty of adjusting, the carburetors
were nicely sync'd up. I was dreading the thought
of having to adjust the length of the throttle cables
and re-soldering the ferules (since they mentioned
on the hovercraft video that it might be necessary),
but as luck turned out, it wasn't.
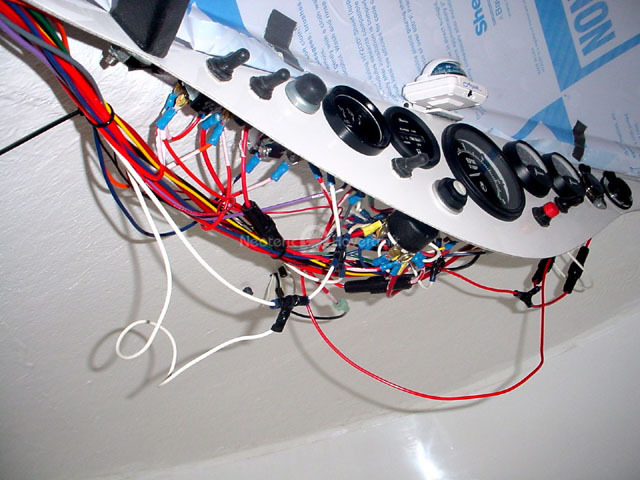
Well by this time there was nothing left to do
but dig out my huge bag of electrical wires and
get it all figured out. And like everything it wasn't
nearly as bad as I anticipated. The wires are color
coded, marked with labels and clearly explained
in the manual and videotape; also they are cut to
the correct length which further helps you deduce
what goes where. After a while I had all the instruments
and switches wired up and all the wires run through
the loom in the port duct. A couple days later the
entire electrical system was finished and guess
what? I ended up with one 4 inch long red wire left
over! My wife and I had a good laugh about that
one because I always seem to end up with a few bits
left over with no idea where they were supposed
to go. Anyway all instruments and electricals were
properly working, so I imagine it was some kind
of jumper wire for an optional switch that wasn't
supposed to be in my kit!?
The last thing to do was install the thrust duct
and the hovercraft was ready for its maiden flight.
Oh yeah, and some skirts would help there, too.
I installed the hovercraft skirts which turned out
to be easier than I thought using a nice little
piece of laminate flooring to tap them into the
retention slots with a rubber mallet. There was
a myriad of other little details which I'm sure
I've left out, but what I've described gives an
overall idea of what to expect when assembling a
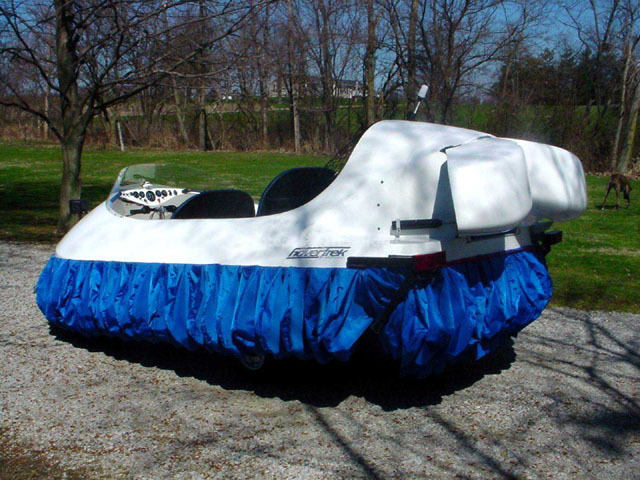
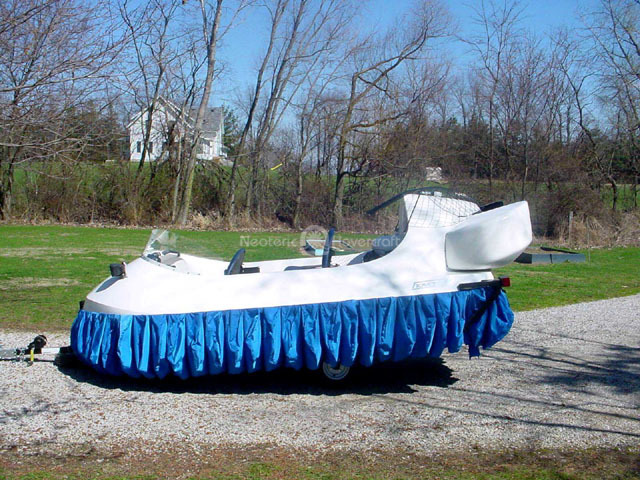
Hovertrek from a Neoteric Hovercraft kit. I had
initially thought about unloading the Hovertrek
from its trailer to work on it, but I quickly found
out that the trailer provides the perfect platform
on which to work on the hovercraft. I just needed
a short step stool to get in and out of the craft.
Throughout the assembly process I was continually
impressed with the degree of quality and expertise
that has gone into the design and construction of
the hovercraft and the selection of parts and materials,
which were top notch. Everything was provided -
from the glue, bonding goop and catalyst right down
to the last rivet, not to mention the extra fuses,
rivets, spark plugs and wire ties which I found
in the provided tool kit. Very professional!
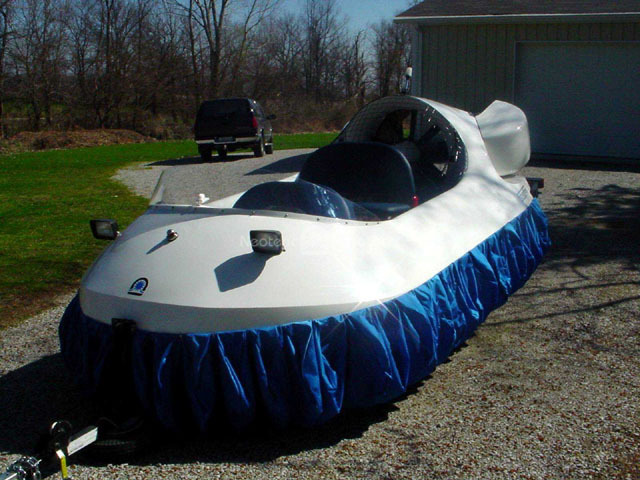
After the wire ties were attached to the skirts
(all 132 of them!) I was ready to gas it up and
start the engine. I took it out in my back yard
(actually a 2 acre grassy field), applied the choke
and turned the key. The engine roared to life immediately.
After letting it warm up a bit I applied throttle
and lifted off for my first hovering experience
in the craft. It all worked beautifully. What an
awesome machine! But trust me, a two acre field
is way too small to do much hovering. As soon as
I would get going I'd have to start turning, anyway
I didn't hit any fences or trees, which is always
a good thing. The hovercraft is now registered with
the BMV and tomorrow Travis and I are taking it
down to a large lake nearby for a good break-in
hover. After we get some experience operating the
craft we'll have some more stories to tell. Thanks
Chris and Neoteric for making such a spectacular
hovercraft!
Sincerely,
Dave Reyburn